 |
|
|
0 Comments
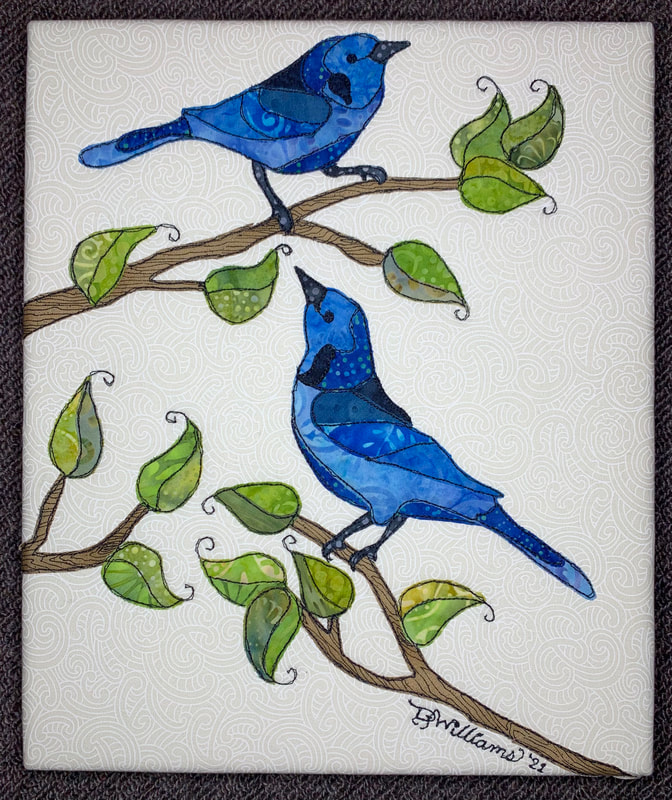
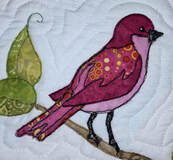 This is a comparison of raw edge applique quilting done by assembling and applying pieces to a top, then topstitching the raw edge applique before finishing quilt top to be quilted. Vs Combining the raw edge applique topstitching and quilting as a single step.
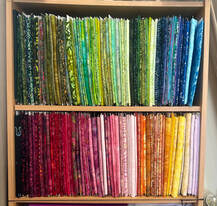
The benefit of first topstitching and then assembling or quilting is that the quilt can be stitched without stopping to constantly change threads, or skipping large areas. You simply quilt as desired using whatever thread is chosen and the project is a bit less technically challenged. Also with all the shifting, folding an stretching of fabrics you run no danger of a piece lifting or popping of the face of the quilt while quilting the final project. The con is the applique work loses some of its definition and depth. This opinion is personal –some may not find the distinction ‘distinct enough’ to matter. The benefit of ironing-on applique pieces, going to the trouble of pinning or basting them first then basting together quilt sandwich and quilt/applique at once is definitely about ‘the look’ for me. There is something slightly more 3 d that is visually appealing to this quilter. The cons: Pieces may come loose and need to be touched up with the iron. The other is that you are stuck changing threads out constantly or are quilt/appliqueing sections and not quilting the bits in between at the same time. The large gaps in between would mean that (unless you have basted the sandwich well and kept your tension in your hands consistent) you may end up with areas that have wrinkles or poofy bits that are hard to quilt without causing pleats. Just being honest here. SO if trying this method close basting is necessary or changing threads lots. My decision? If quilting after already sewing down the raw edge applique- this means essentially raw edge applique twice as you need to stitch down the pieces to the quilt body anyway or have a strange dynamic of the applique pieces sitting unevenly away from the backing. The initial stitching tends to flatten the applique pieces. If combining quilting and stitching, you are actually doing something slightly more technically difficult, but the more 3d look is really my preferred method. Different quilts require different approaches and this is totally a matter of taste and which of the looks/challenges you prefer. 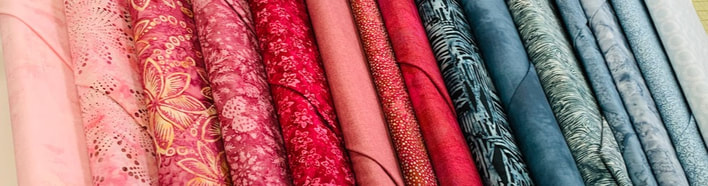 Should you prewash modern fabrics? The current consensus is no. ‘Not needed as modern fabrics are processed different and don’t either lose colour or shrink’. Hate to be a kill-joy but um…experience has taught me otherwise. My answer is yes prewash! Unless using fabric in a situation in which the quilt will be display only and never laundered.
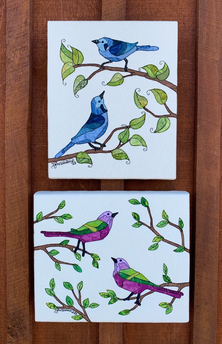
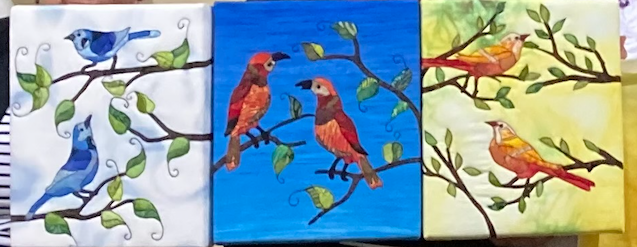
While preparing samples for a class I decided to go all brave and not prewash my new fabrics. The class involves making squares that all come out the same size. Um. Well…not so much. These were expensive novelty prints with a trademarked highly recognizable cartoon style character on them. They were purchased in a quilt shop not some low end budget store. When I began assembling nothing seemed amiss initially but as I sprayed them with water and ironed them with steam they changed slightly. Some seams not as flat as they should be after careful cutting and accurate seams. Imaging my surprise at measuring the final blocks and finding them all slightly too small and variating in size. SO between this experience and a lovely modern blue that surrendered It’s dye to other fabrics…yep. I prewash and hot iron everything used in a washable quilt! 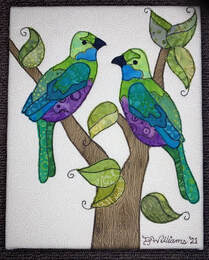 You may have noticed several of my current wall quilts are canvas mounted. Such as these birds, and the ones in the May blog. This is a recent development. It all started with an art exhibition in which I thought the planned quilt would be more readily received if displayed in a format to which traditional artists related. Sort of a ‘meeting of the disciplines’ if you will.
Previous advice led me to believe that a genuinely tidy look when mounting a quilt over canvas was near impossible to achieve. After watching several videos on how to prepare and mount canvas over the wooden framework normally used by painters (stretchers) I tackled my first quilt over canvas. It wasn't quite the same... After consideration it was decided to keep the canvas in place which (as a bonus) meant the back of the quilt didn’t have to be considered. Also it didn’t require the tedious removal of all the staples holding the canvas, baring the framework to the wooden stretchers. So please was I with the results that I’ve now mounted several wall-hanging sized quilts this way. (Several which have sold.) My new Real Tweets on Canvas class focuses on creating a simple piece that can then be displayed in this way. I personally think they are quite effective – still quilted, but more modern in their display. Also think they would make great gifts! Thoughts on this? Insanity of my own making:
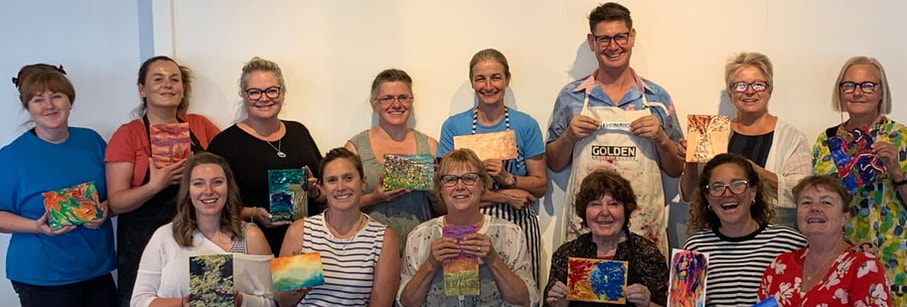 Just took a fabulous class with the 'Golden Paint' representative Evan Woodruffe. He is one talented man, with extensive knowledge about acrylic paints. I was delighted to be introduced to such a wide range of products that will enhance future projects, both fabric and otherwise. Now I'm keen to play!!!
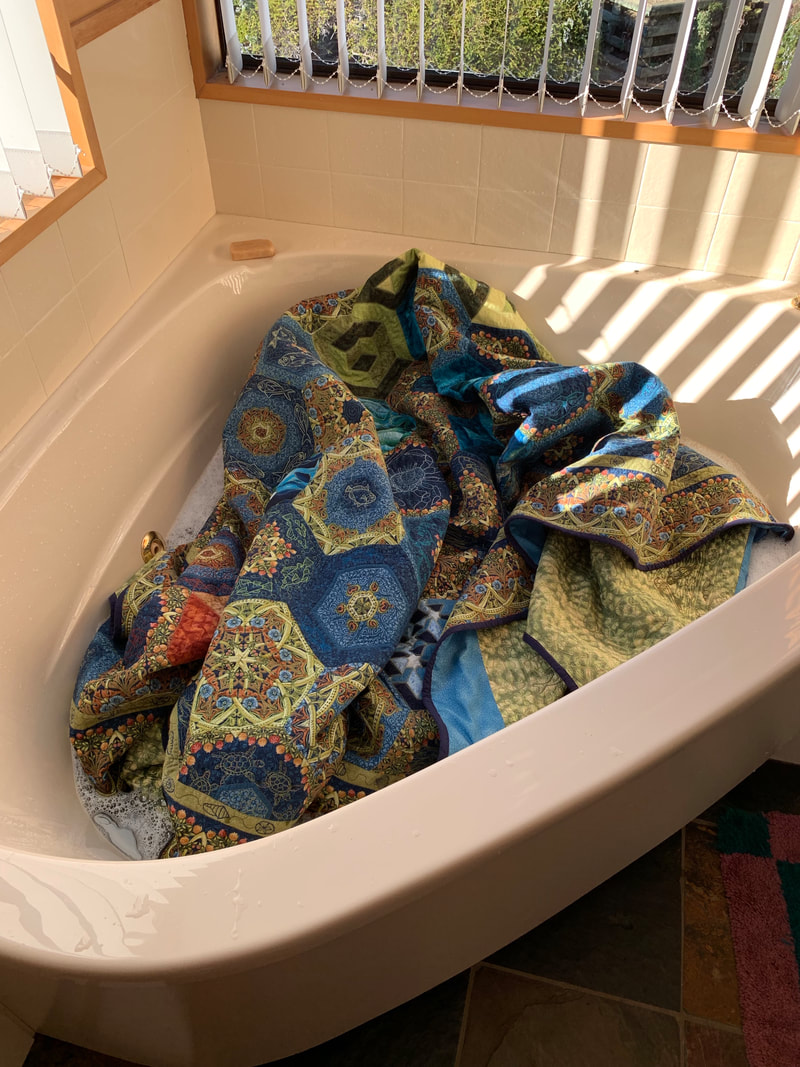
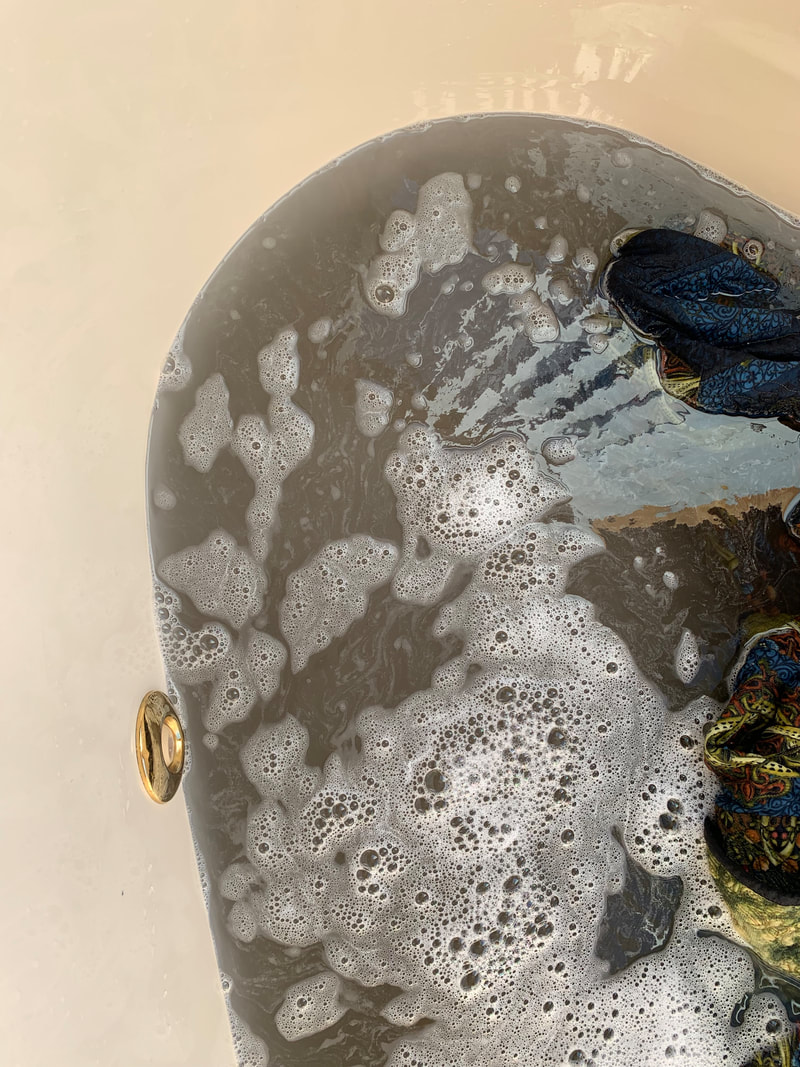
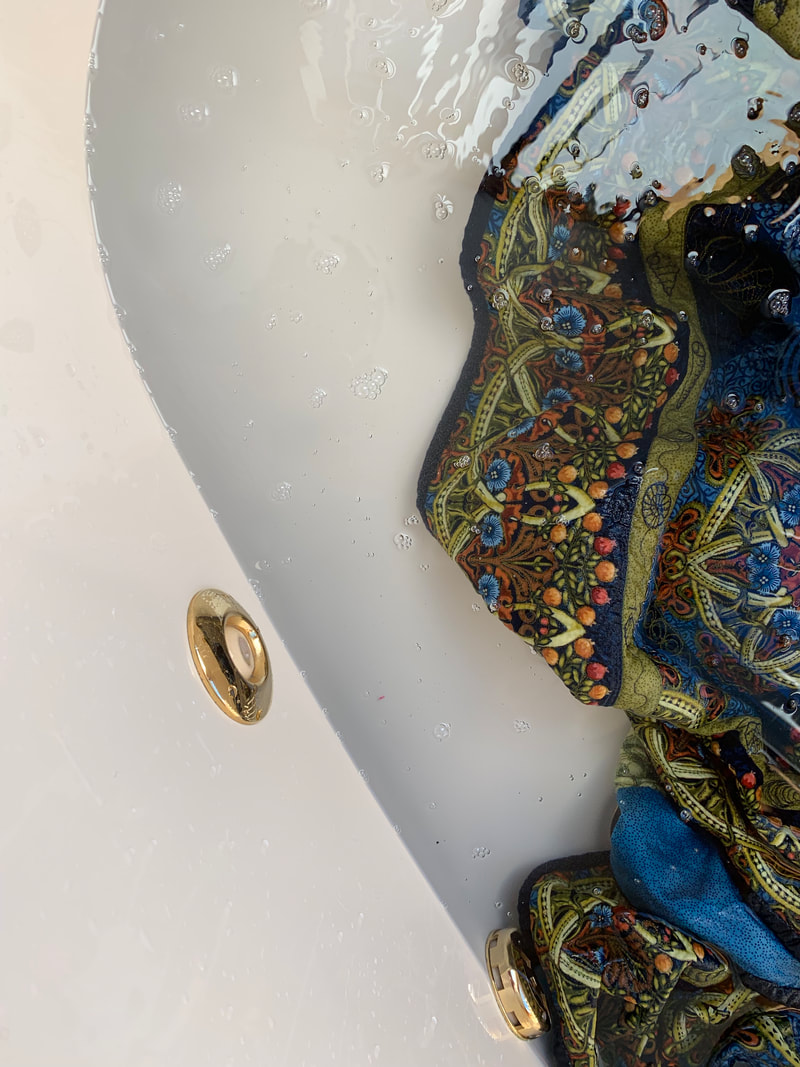
If you have an interest in watching some free videos regarding various art mediums (including some videos featuring Evan) click the button below. Quilts that are washed sometimes look a bit different. Is it worth it to wash a quilt that is 'new'? (You risk slight colour changes or warping/wrinkling in un-quilted areas.) Not always, but sometimes it becomes a genuine necessity. Especially when a quilt has been handled a lot or has been worked on over a large expanse of time. My example is the 2019 World Quilt Exhibition entry mentioned last blog. The quilt was carefully handled, packed up between quilting sessions but -in fact- had been in progress for many years and even with all the care I could give it couldn't possibly be clean. We lived in five different houses between the beginning and end of this quilt. (We do move around a bit so that's no surprise really) The point is that no matter how much you take care of a quilt, in reality it might need to be washed. This quilt did not LOOK dirty, or smell. I was just painfully aware of how many hours I quilted, and how many times it had been out then packed away. (How many years it had been unwashed.) To wash such a huge thing first a large bath was filled with tepid water then a colour safe soap was added. THEN the quilt was added. It was a huge shock to realize how much dust had landed on this baby over the years. Three rinses saw the water clear. Yikes! In case you are wondering, the discoloration in the water was not dye, when the tub was drained the first time, there was a layer of wet dust stuck to the tub. The moral of this story is to consider washing any quilt that hasn't been washed in years, even if it looks/smells good.
|
Debby's ChatLetting you into the inner sanctum of a quilter's thoughts and activities. Archives
February 2024
|


 RSS Feed